
Super Battle Golf features 27 unique courses spread across 3 distinct biomes. Each biome has its own visual theme, hazards, and difficulty level. A 4th biome with 9 new holes is coming in the first content update!
Map Structure
- 3 Biomes: Each with unique visual theme and hazard types
- 9 Holes per Biome: Progressively more complex layouts
- Difficulty Scaling: Later holes in each biome are trickier
- Coming Soon: New biome with 9 additional holes announced!
Biome Guides
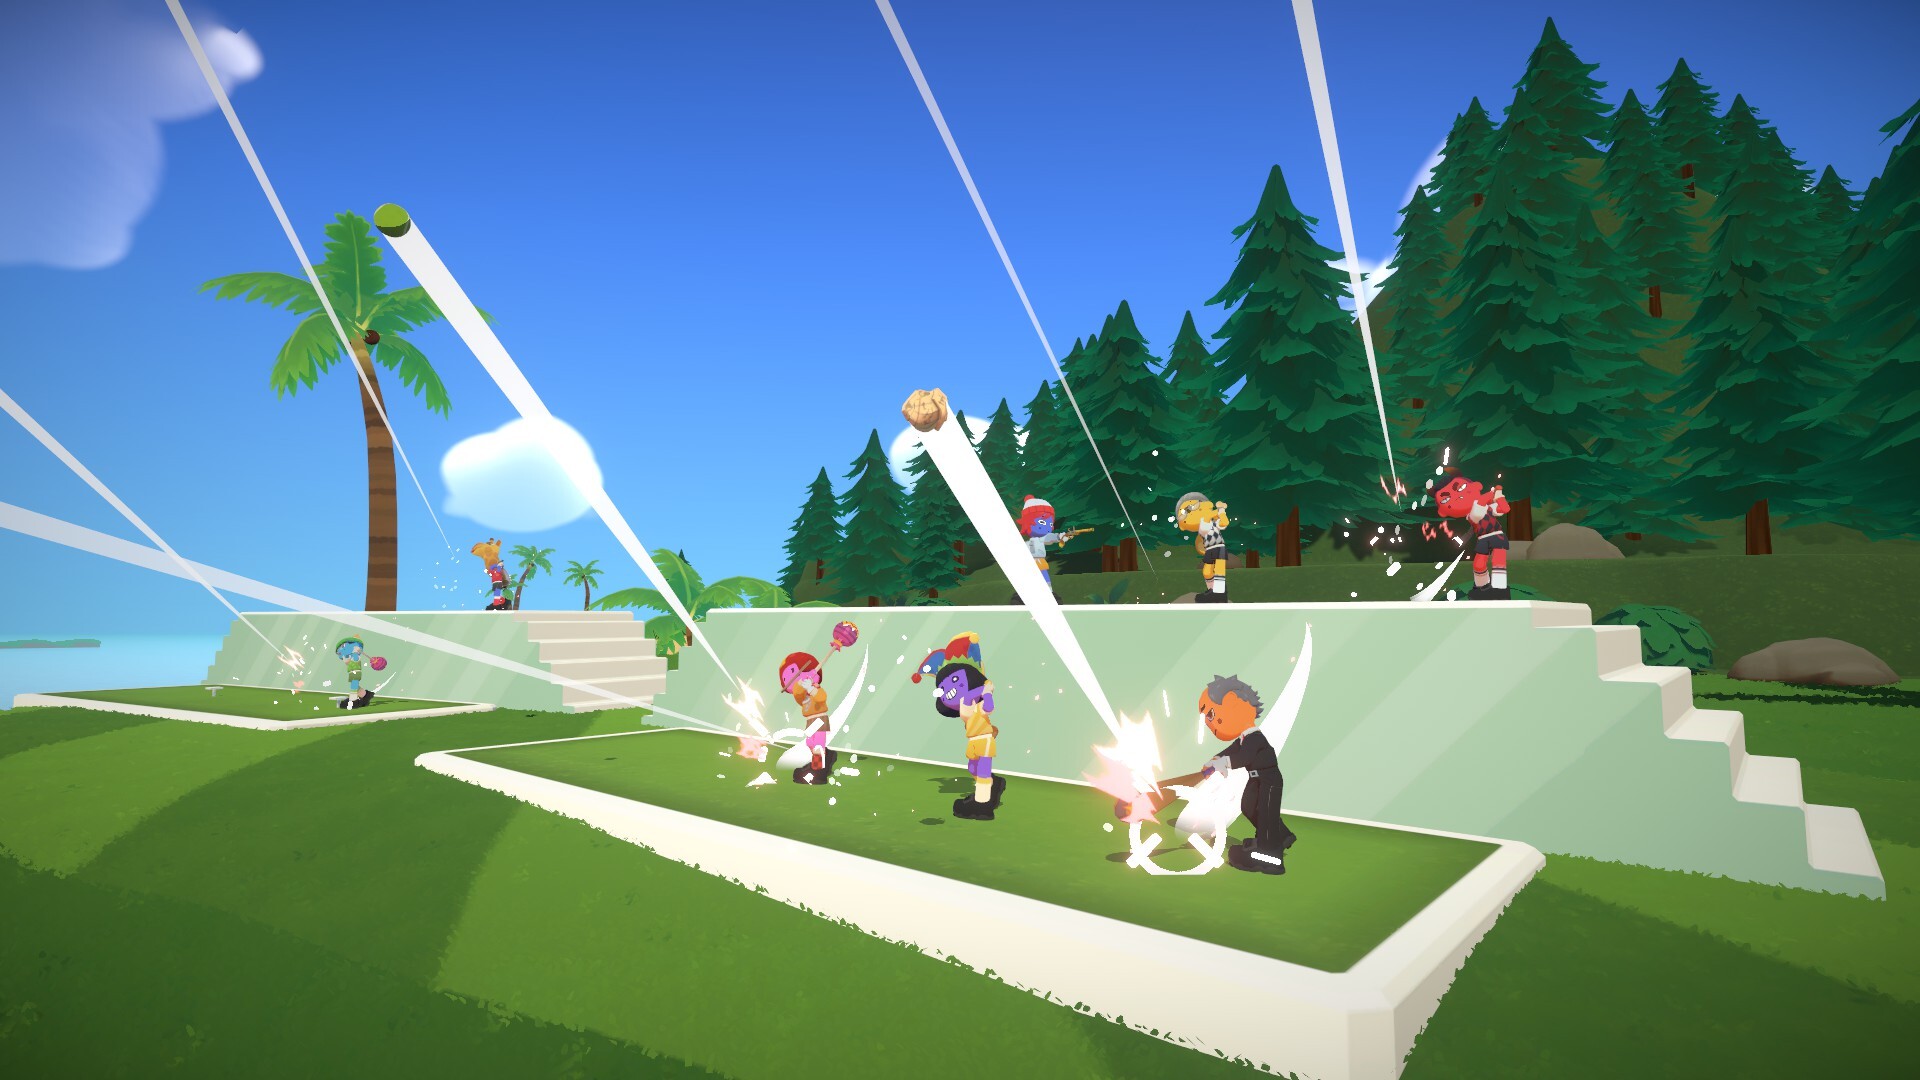
Biome 1: Green Valley
The starter biome. Rolling hills, basic hazards, and forgiving layouts. Perfect for learning.
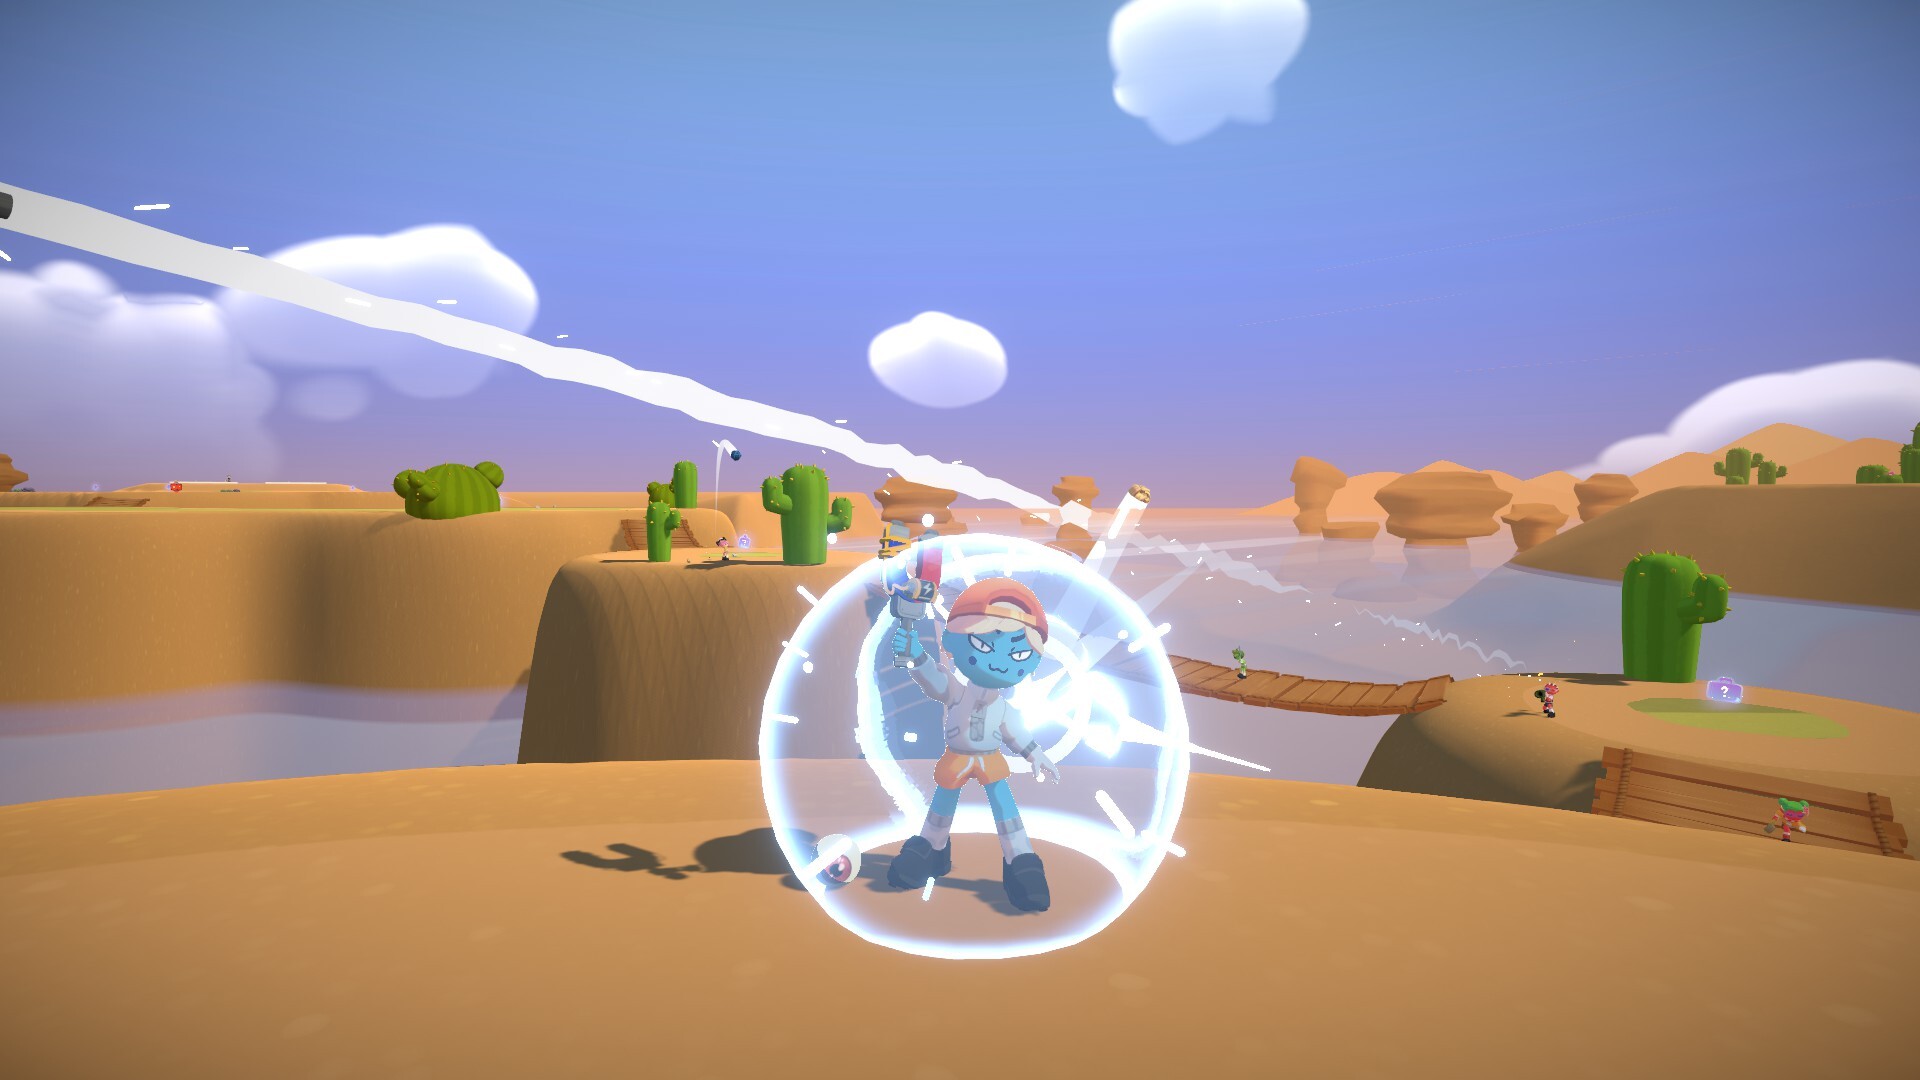
Biome 2: Desert Dunes
Sand traps, narrow bridges, and tricky terrain. Medium difficulty with high chaos potential.
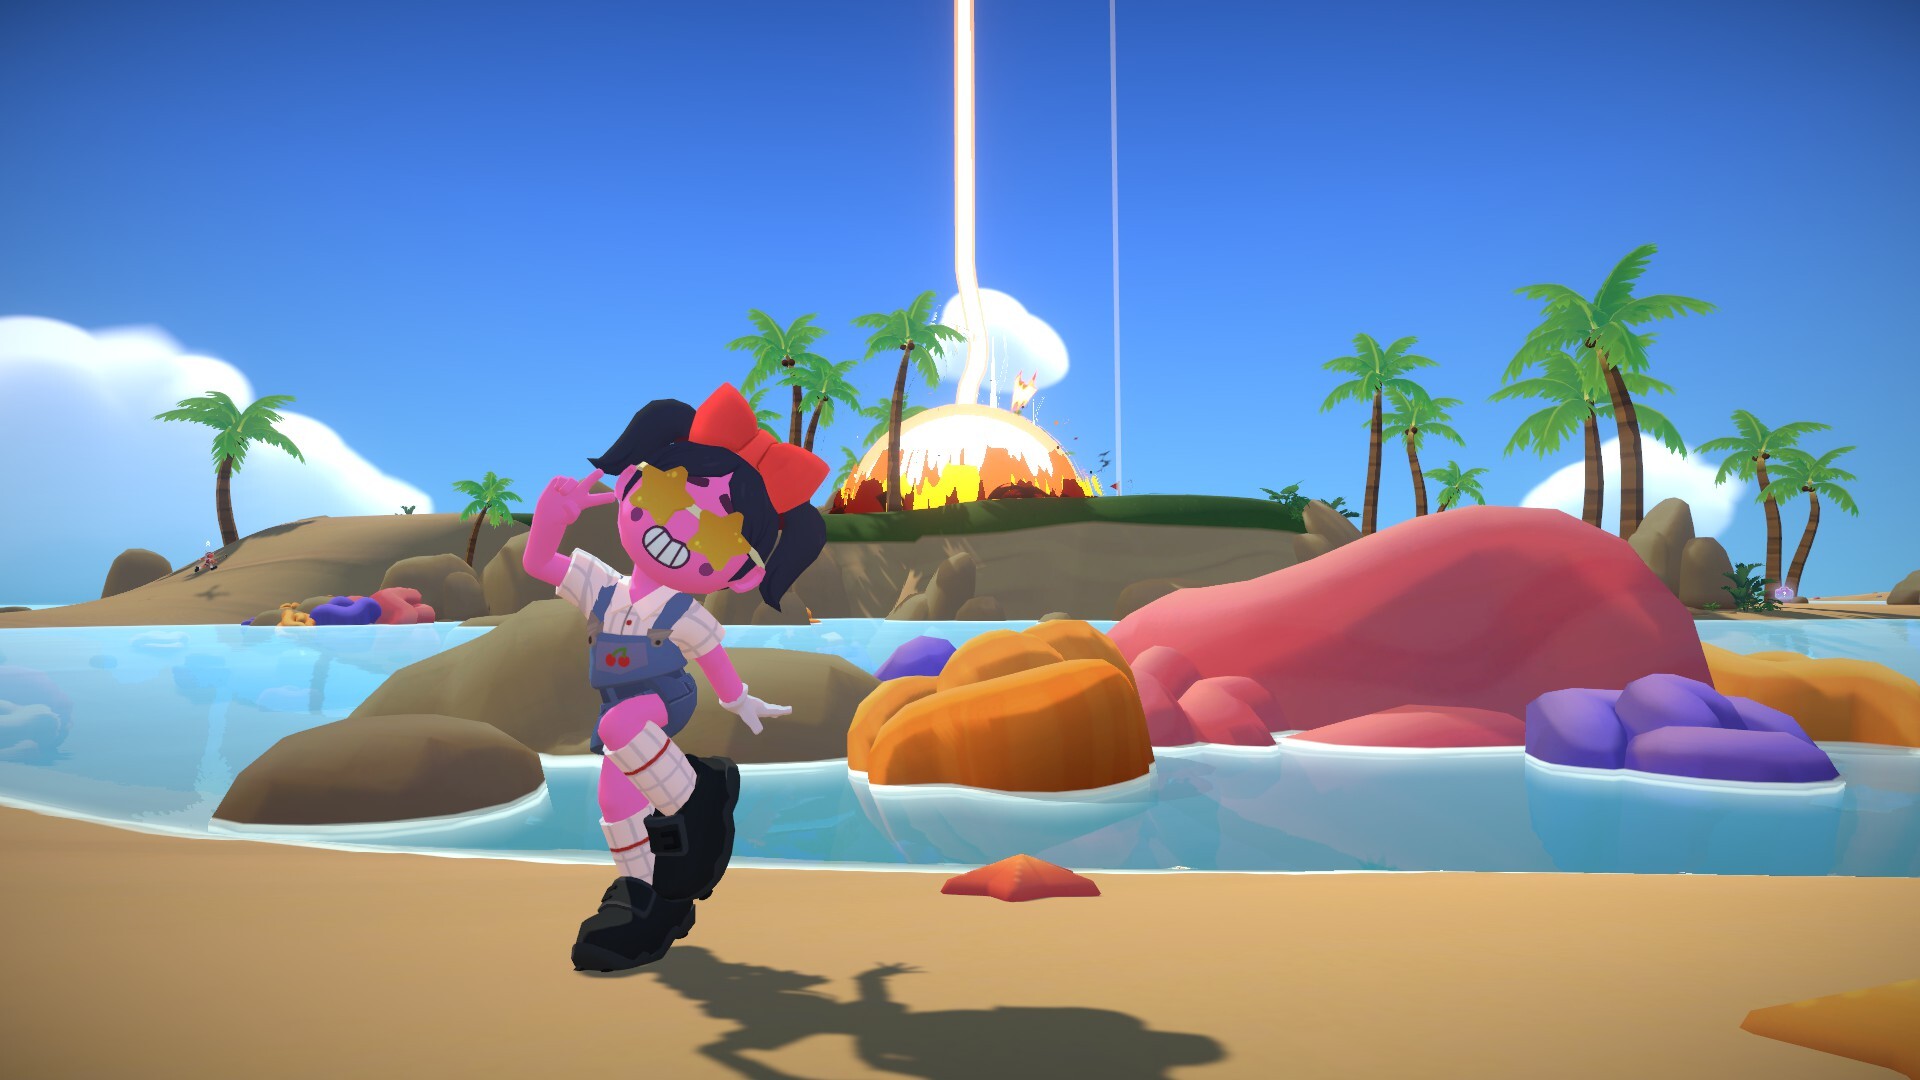
Biome 3: Volcanic Peaks
Dangerous terrain, moving hazards, and instant-death zones. Expert-level mayhem.
Hazard Types
Watch out for these obstacles across all maps:
| Hazard | Effect | Tips |
|---|---|---|
| 🏖️ Sand Pits | Slows movement significantly | Avoid or use high-angle shots to clear |
| 💧 Lakes/Water | Resets you to last checkpoint | Always hit checkpoints before water hazards |
| 🌿 Vegetation | Slows movement, can hide players | Use for "Lying in Wait" achievement ambushes |
| 💣 Player Mines | Stuns you on contact | Shoot from distance or creep (Alt) to disarm |
| ⬇️ Cliffs/Edges | Fall off = reset to checkpoint | Stay away from edges when knockback items are in play |
Item Spawn Locations
Items spawn in purple briefcases at fixed locations on each map:
- Briefcases are placed along main routes and shortcuts
- High-value items often spawn in riskier locations
- Items respawn after a short cooldown
- Memorizing spawn points gives you a significant advantage
Checkpoint System
Checkpoints are the floating red objects that turn green when activated. They're crucial for maintaining your position:
- If you fall off or into water, you respawn at your last checkpoint
- Missing checkpoints means respawning further back
- Checkpoints are placed before major hazards
- For "Living on the Edge" achievement, avoid ALL checkpoints on a par 5+ hole
General Map Tips
- Learn safe routes first: Before trying shortcuts, know the reliable path
- Watch for item spawns: Each map has fixed item locations - memorize them
- Identify danger zones: Cliffs, narrow paths, and hazards where knockback is deadly
- Use the environment: Bounce off walls, use slopes to your advantage
- Shortcuts are risky: They're faster but often near hazards - weigh the risk
- Avoid the crowd: Sometimes the longer path keeps you away from chaos
Map Difficulty Rankings
| Difficulty | Maps | Notes |
|---|---|---|
| 🟢 Easy | Biome 1: Holes 1-5 | Wide paths, few hazards, forgiving |
| 🟡 Medium | Biome 1: Holes 6-9, Biome 2: Holes 1-5 | More obstacles, some tight spots |
| 🟠 Hard | Biome 2: Holes 6-9, Biome 3: Holes 1-5 | Precision required, many hazards |
| 🔴 Expert | Biome 3: Holes 6-9 | Chaos incarnate. Good luck! |
Coming Soon: New Biome
🆕 Content Update #1
Brimstone has announced a brand new biome with 9 additional holes is in development! This will bring the total course count to 36. No release date yet, but follow the news page for updates.